HOW-TO-INSTALL NORD-LOCK WASHERS
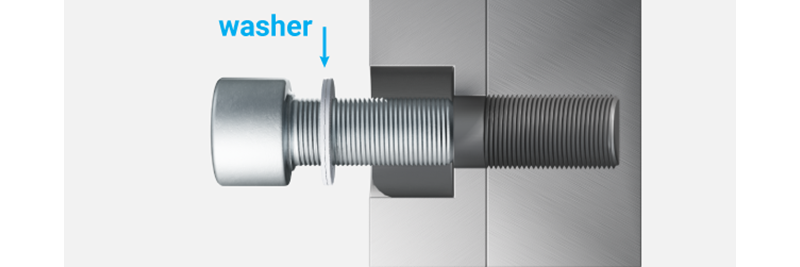
COUNTERBORE ASSEMBLY
1.0
COUNTERBORE ASSEMBLY
Following these instructions will ensure that the washers are installed correctly and the fasteners are secured against loosening.

Easy and quick to install
Prevents bolts and nuts from loosening
No need for re-torqueing
Guaranteed preload over time
YOU WILL NEED THE FOLLOWING ITEMS
Requires one pair of Nord-Lock washers.
All our washers are laser marked (Nord-Lock brand name, control number, type code). This is to ensure you receive genuine Nord-Lock washers and enables full traceability down to the first assembly.


PREPARATION

Nord-Lock washers always come in pairs. If your washer is accidentally separated make sure the washers are mounted cam facing cam.

Discard damaged bolts.

Do you have a tight fit between the bolt and the hole? Use the standard washer.
When to ask for support

If you have any challenges or any of these cases below:
• The mating surface is not locked in place.
• Soft surfaces with large settlements.
• Joints that are not designed to be tightened.
• The mating surfaces are harder than the washers such as hardened bearings.
Support is available at bolting@nord-lock.com
FINAL CHECK

Never use a plain/flat washer with Nord-Lock washers. If you need a larger diameter washer, use the Nord-Lock SP washer.

Never divide the washers and only use one of the washers.

Correct installation.


